Get in touch with Yun-Sculpture company
How to Install Outdoor Fountain (Large Stone Models): Foundation, Pump & Plumbing Guide

Installing a 1,000kg–5,000kg fountain is not decoration work.
It is structural work.
If you respect the weight and follow the sequence, the system will run perfectly for decades.
It’s just physics.
🔥 At a Glance – Tool Checklist
Before the truck arrives, confirm you have:
- Crane or Forklift
- Heavy Lifting Straps
- 4–6 ft Level
- Plastic Shims
- Two-Part Stone Epoxy
- Exterior Silicone Sealant
- Plumber’s Putty
- PVC Primer & Cement
- Teflon Tape
- Multimeter (for electrical testing)
Never lift heavy stone by hand. Use straps and a machine.
Table of Contents
Table of Contents
Why Preparation Is Everything
When clients ask us at Yun Sculpture how to install outdoor fountain systems correctly, we give the same answer:
Whether you’ve ordered from our [outdoor fountain collection →] or elsewhere, these principles apply universally.
The fountain is easy.
The preparation determines success.
Large fountain installation is 80% foundation and plumbing.
Only 20% stacking stone.
If you prepare correctly, assembly feels like LEGO.
We mark every piece: A1, B1, C1.
Stack in order.

PHASE 1: The Foundation (Concrete Pad for Fountain)
If your fountain weighs over 1000kg:
You CANNOT install on dirt.
You CANNOT install on pavers.
You need a 6–8 inch Reinforced Concrete Pad.
Step 1: Excavation
Excavate 8–12 inches deep.
Extend the pad 6–12 inches wider than the basin on all sides.
Compact the soil.
Add 3–4 inches of compacted gravel.

Caption: Preparing the sub-base and rebar grid before pouring the reinforced concrete pad.
Step 2: Install Conduits BEFORE Concrete
Run two separate lines:
- Electrical conduit (PVC, schedule 40 minimum)
- Water supply line (for auto-fill system)
Do NOT bury power and water loose in soil.
They must pass through conduit under the pad and emerge in the center.
This connects to our Pre-Drilled Channel.
Step 3: Rebar Grid
Install #4 rebar grid spaced 8–12 inches apart.
Tie intersections.
Lift rebar off gravel using rebar chairs.
Step 4: Pour Concrete
Minimum:
- 6 inches thick (small fountain)
- 8 inches thick (large 2000kg+ fountain)
Concrete strength:
- 3500–4000 PSI recommended
Allow curing:
- 48 hours minimum
- 7 days preferred before full load

This is not optional.
The #1 structural mistake we see is skipping reinforced concrete.
PHASE 2: Plumbing Setup (Before Stone Is Placed)
This is where most contractors make errors.
Plumbing must be completed BEFORE stacking tiers.
The Pre-Drilled Channel Advantage
At Yun Sculpture, every tier is drilled through the center in the factory.
You do NOT drill stone onsite.
Drilling natural stone on site risks cracking.
We already did it with precision CNC alignment.
Running the Electrical Line
Use outdoor-rated pump cable.
Pull through conduit to center opening.
Install GFCI outlet on dedicated breaker.
Never use extension cords.
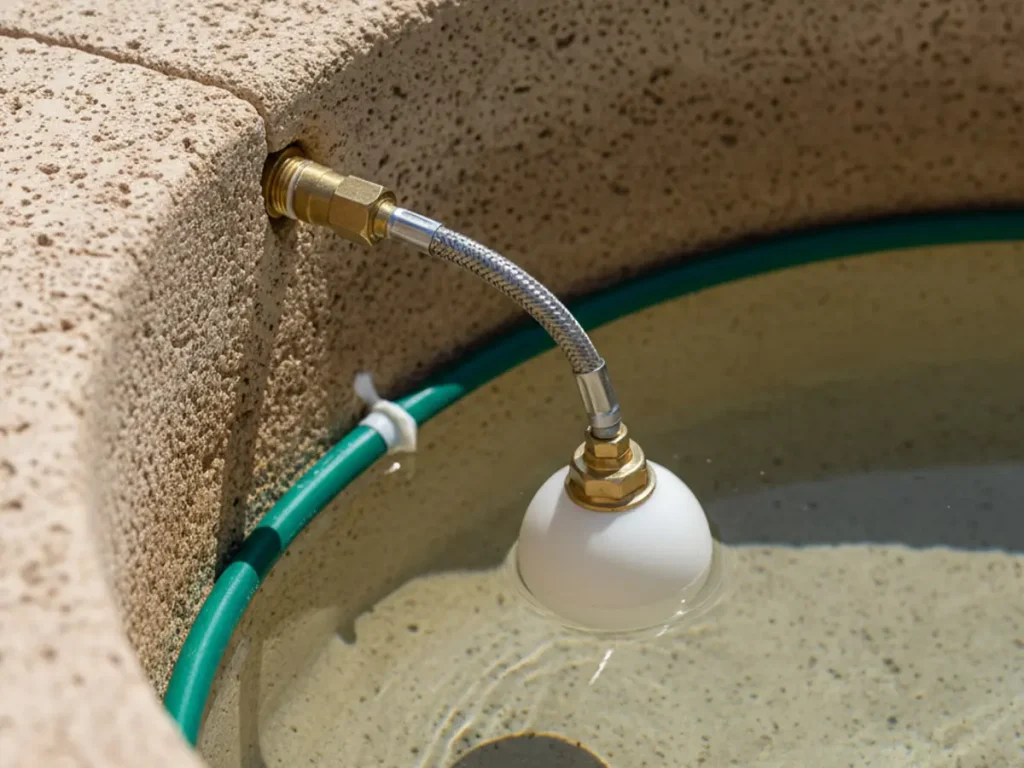
Running the Water Line (Auto-Fill Valve for Fountain)
Install a 1/2″ irrigation line into the basin area.
Connect to float valve inside basin.
This prevents dry running.
The #1 Cause of Pump Failure
Running dry.
Water evaporates.
Wind splashes water out.
Pump overheats.
Burns out.
Install an Auto-Fill Valve.
This is cheap insurance.
PHASE 3: Stacking & Sealing
Now the fun part.
But go slow.
Step 1: Place Basin
Lift basin using straps.
Set gently onto concrete pad.
Check level in two directions.
Leveling Logic
Stone is natural.
It is never perfectly flat.
Use:
- Plastic Shims
- Construction Epoxy
Insert shims under low corners.
Once perfectly level, inject epoxy under voids.
Remove visible shims.
Let cure.

Caption: Leveling the basin using plastic shims before permanent epoxy bonding.
Why Level Matters
If base is not level:
Water spills unevenly.
Tiers look crooked.
Overflow increases evaporation.
Take 20 minutes.
Save 20 years of annoyance.
Step 2: Install Center Pipe
PVC pipe runs through all tiers.
Seal base penetration with plumber’s putty or silicone.
No leaks allowed at basin floor.
Step 3: Stack Tiers Like LEGO
We mark pieces A1, B1, C1.
Follow sequence.
Dry-fit first.
Confirm alignment.
Then apply exterior stone epoxy at contact surfaces.
Lower tier carefully.
Align.
Wipe excess epoxy.
Never rush alignment.
Epoxy sets fast.
Step 4: Silicone Internal Joints
Inside water flow areas:
Use clear exterior silicone.
This prevents seepage between stone joints.
PHASE 4: The Pump (Fountain Pump Setup)
Pump selection is not guesswork.
It is math.
Two Numbers Matter:
- Head Height (Lift)
- GPM (Gallons Per Minute)
Head Height Explained
If fountain height = 3 meters
You do NOT buy a 3-meter pump.
Water loses energy due to:
- Friction in pipe
- Elbows
- Flow restriction
You need:
4 meters minimum head rating
Always oversize slightly.
GPM (Flow Rate)
Higher GPM = fuller spillover
Lower GPM = gentle trickle
Typical 3m tall fountain:
- 2000–4000 GPM depending on design
We provide pump specification sheet with every order.
Where to Place Pump
Most large fountains include pedestal housing.
Pump sits inside basin pedestal.
Access panel allows service.
Always elevate pump slightly above basin floor using pump stand.
This prevents sediment intake.
For wall-mounted fountains, pump placement differs significantly. See our [Wall Fountain Installation Guide →] for specific guidance.
Electrical Safety
Use:
- GFCI outlet
- Waterproof junction box
- Outdoor-rated cable
Test with multimeter before filling basin.
PHASE 5: Filling & Testing
Now:
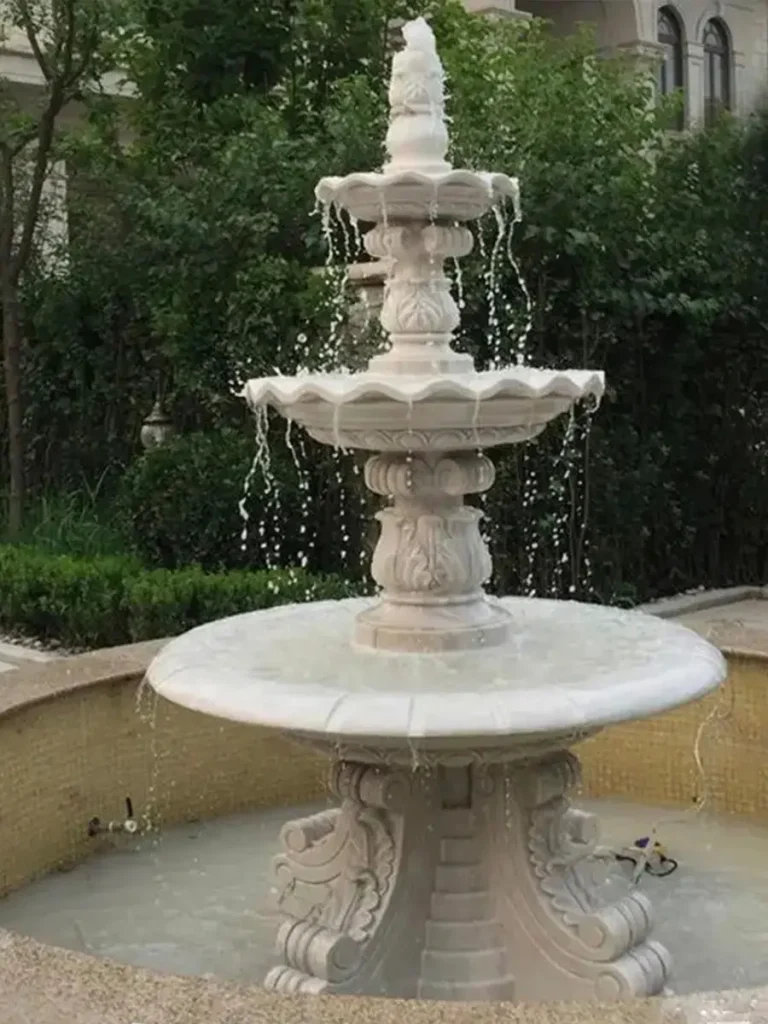
Fill basin fully.
Check:
- All joints dry externally
- Water evenly spilling
- No wobble in tiers
Run pump 30 minutes.
Observe.


Fine Tuning Flow
Too strong?
Install ball valve to reduce flow.
Too weak?
Check:
- Pipe kinks
- Debris in pump intake
- Head rating too low

Troubleshooting Guide
Problem: Low Water Flow
Possible causes:
- Pump undersized (wrong head height)
- Pipe obstruction
- Dirty intake filter
- Excessive friction from small pipe diameter
Solution:
Upgrade pump or increase pipe size.
Problem: Uneven Spillover
Cause:
Base not level.
Solution:
Drain basin.
Re-level basin.
Yes.
Even after installation.
Physics doesn’t negotiate.
Problem: Water Loss
Cause:
Splash-out or micro leaks.
Check:
- Wind exposure
- Joint silicone
- Auto-fill valve functioning
Problem: Pump Burned Out
Cause:
Running dry.
Solution:
Install auto-fill.
Replace pump.
Never repeat mistake.
Driveway Installations (Special Note)
Installing in circular driveway?
Vehicle vibration exists.
Use thicker:
- 8-inch reinforced pad minimum.
Read our detailed [Driveway Fountain Specs].
Budget Planning
Foundation and plumbing add cost.
But they prevent failure.
Budgeting for installation?
Check our [Fountain Cost Guide].
After Installation: Maintenance Matters
Installation is step one.
Longevity requires care.
Learn how to protect in winter:
[How to Winterize Your Fountain]
Engineering Advantages We Build In
At Yun Sculpture, we design for contractors.
Not just beauty.
1️⃣ Factory Pre-Drilled Channel
Perfect vertical alignment.
No onsite drilling.
No cracking risk.
2️⃣ Structural Stone Thickness
We overbuild wall thickness.
Stress distribution matters.
Thin stone fails under freeze-thaw.
3️⃣ Pump Sizing Guidance
We calculate:
- Head height
- Flow loss
- Basin volume
Before shipping.
4️⃣ Marked Assembly System
Every piece labeled.
Just stack in order.
Like LEGO.
The Mindset of Safe Installation
Respect the weight.
Respect gravity.
Respect water.
That’s it.
It’s not complicated.
Frequently Asked Engineering Questions
Can I install on pavers?
No.
Pavers shift.
Concrete pad only.
Can I bury power cable directly?
No.
Use conduit.
Can I skip auto-fill?
You can.
Until the pump burns out.
Can I reduce concrete thickness?
If the fountain is small (under 800kg), maybe.
Above that?
No.
Not sure which material to choose for your installation? Our [Bronze vs Marble Fountain Guide →] covers durability, weight, and long-term performance.
Final Checklist Before Project Completion
- Reinforced Concrete Pad cured
- Conduits installed properly
- Basin level confirmed
- Tiers epoxied and sealed
- Pump sized correctly (Head Height + GPM)
- Auto-Fill Valve tested
- GFCI verified
Then and only then:
Project complete.
Need Technical Drawings?
Need a plumbing diagram for your contractor?
We provide:
✔ Installation schematic (PDF)
✔ Pump calculation sheet
✔ Electrical layout guide
Installing a large fountain is not mysterious.
It is sequential.
It is logical.
Follow the steps.
And it will work perfectly for decades.